Pages

Ian Sands has taken a new position at South Brunswick HS Check out it out! http://ArtofSouthB.com
Showing posts with label stencilstop14. Show all posts

Thursday, July 11, 2013

Eva Perry Street Art Workshop


Tonight, Mr. Sands hosted a Street Art Workshop at the Eva Perry Library. Despite the rain, we had a good turn out. We looked at a variety of different street art.. everything from Shepard Fairey's stencils  to Buff Diss' tape murals. Then we set out to make a few stencils of our own...


Using a selection of flower images for inspiration, the first step was to draw the image on poster board.


The second step was to cut out the positive space.


 It's important that you don't have any island, circles inside circles, or those pieces will fall out. Always leave connectors!


Since Eva Perry wouldn't let us spray paint their parking lot, we decided to use baby power. Don't sprinkle on too much! Less is more.


It also helps to pat it down a little bit.


The rain finally let up right at the end of the workshop. Even though the ground was wet, we tried a few in the parking lot.


If you're interested giving this project a try, Mr. Sands has made the lesson plan available as a free download on the Art Of Education website. Click here for the lesson plan.

Thursday, May 23, 2013

Corn Starch Stencils


Our Art History class took a look at street art this week. After viewing work by Peter Gibson Roadsworth, I gave them the optional assignment of testing out stencils on the street using baby powder... only we were out of baby powder so we used corn starch instead. Corn starch and powered cleanser.

We tried a few different methods to see which would work best. Hope you enjoy these photos cause I just heard thunder. I don't think our stencils will be there in an hour from now!


G


Monday, May 6, 2013

Green Stencils


Was asked about the results of a green stencil project we tried out last year and since there weren't any photos of it on the blog, I thought I would show the process all the way through.

Above, you see a frame that we used when we made our spray paint stencils. The green border is 2x2 wood with a cardboard box stapled to the back. Instead of using this frame for spray paint, we filled it with top soil. The little bag on the left is birdseed


To test out our green stencils a student volunteered this alien stencil. I will say, this stencil is much better suited for spray paint. For birdseed, you need something simpler.  You don't get the same detail with birdseed as you do spray paint. Still, we had the stencil so we gave it a go..


Next, we sprinkled the birdseed onto the stencil. The birdseed that lands on the dirt will grow. Where there is poster board, nothing will grow. We sprayed the project everyday with water from a squirt bottle to keep the dirt moist.


In a few day the birdseed began to grow. 


The last step was to take away the tag board to reveal the dirt below. I think this would be a fun project to do on a much larger surface area outside.

Friday, March 1, 2013

More Multi Color Stencils


A few more artists were ready to spray today so we braved the rather cold, cloudy afternoon to create another round of multi colored stencils. You can see the process form our first round here.

We are also looking at how andy warhol added line to some of his screen prints. Some of the artists are creating more than one piece so they can experiment with adding pastel, colored pencil and other types of media to their spray paint portraits.


Chris is adding different types of lines to his portrait with oil pastels.


Jess created another portrait solely for the purpose of experimenting with chalk pastel on top of spray paint.


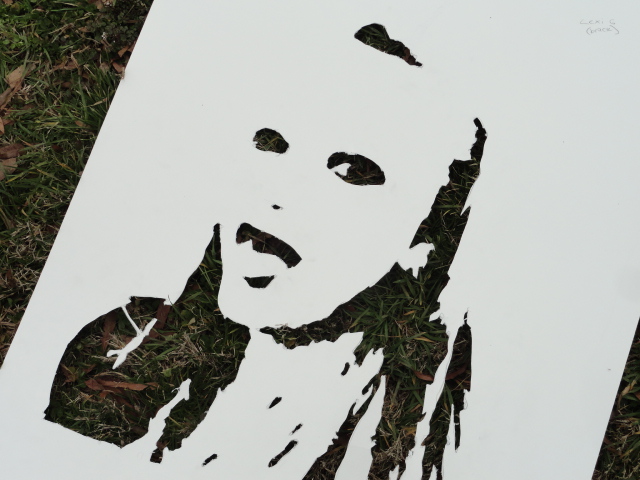
A few of the cut out stencils (to the right) used for this multi color portrait.


One of the stencil cut outs laying in the grass. Still looks cool!

Thursday, February 28, 2013

Multi Colored Self Portrait Stencils


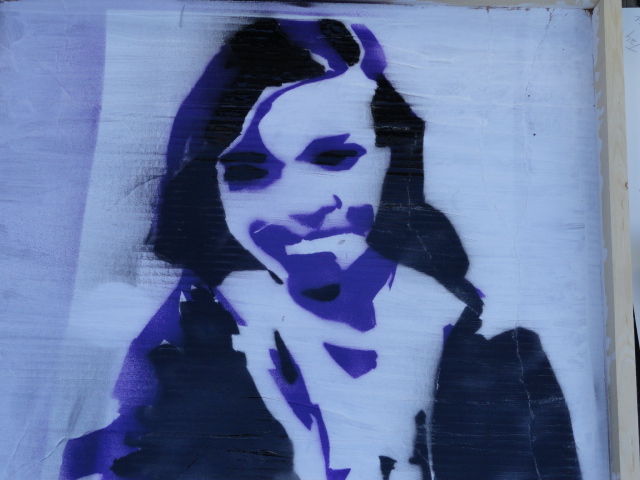
This week in Art One we are working on Muti-colored Self Portrait Stencils (see above).  We've done stencils before but always using only one cut out.

This year we are a little ambitious  going for three or four different cuts out to complete the portraits. I've never done this before ... the students have never done this before... so its all new to everybody and nobody is really sure if it will even work.. But I think we are off to a good start.

Check out the process so far...


We started the adventure up in the computer lab by importing a photograph into Photoshop. There, we applied the cutout filter to break the image down into basic shapes. Then we applied a gradient map to match the colors of the spray paint. I've created a video tutorial you can watch here.

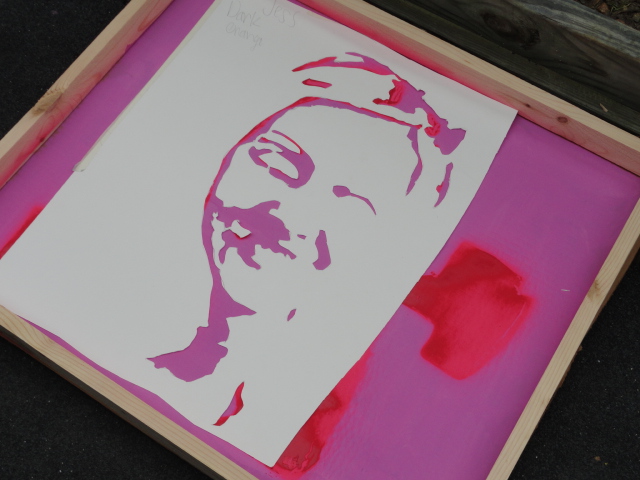
Next, we projected the resulting image onto tag board. Each color was traced onto a separate sheet. That's what is going on in the photo above.


All the fun comes when each piece of tag board needs to have the negative space cut away from it. We use x-acto blades. Boy is this part fun! Now where is my tongue? Oh, here it is. firmly embedded into my cheek.


The final step takes very little time, especially compared to the rest of the process. Each piece of tag board is placed on a background and the chosen color sprayed though. Pretty simple.


Above you see the second layer being applied.


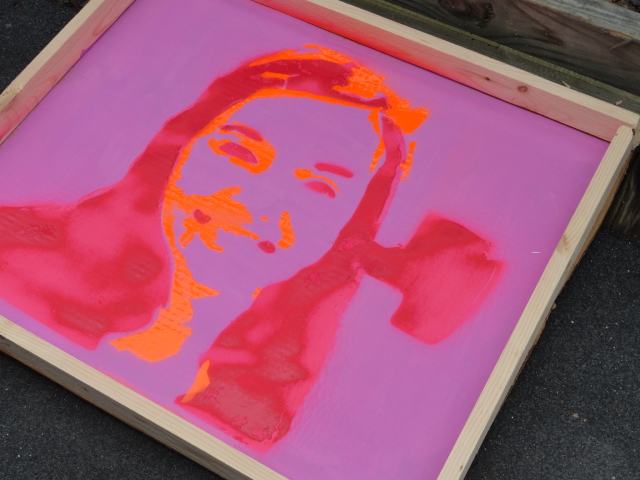
Here you see the work with two layers sprayed.


This is the same piece with three layers sprayed.


Jess is now adding the final layer, the white spray paint.


This is the final version after spraying. We might take these to the next level by adding color pencil, marker or pastels on top of the sprayed images. Stay tuned!!

To better understand what we did in the computer lab, watch or share with your class the video below.


Creating a Stencil Reference from iansands on Vimeo.

Wednesday, October 24, 2012

Green Art!

 
So much of what we hear about in art today is the talk of green art…. Recycled bottle projects and the like. Well, this project is truly green art. Birdseed Stencils!

We started this project today by creating a series of frames and placed them in the grass.


We filled the frames with what else? Fill dirt! Cheap fill dirt from my favorite place to purchase art supplies, Lowes Home Improvement.

 
Next we recycled our spray paint stencils. We placed them over the dirt then sprinkled them with birdseed.


Water well... and wait for it to grow!


Related Posts Plugin for WordPress, Blogger...